dSIPRouter 0.63 was recently released with out of the box support for Twilio Elastic SIP Trunking. The design goal for the first release of this feature was to make it simple for a user to download dSIPRouter and setup Twilio as the carrier.
Assumptions:
- dSIPRouter is installed. If not, you can install it within 12 minutes. There is a one-line command that will kick-off the installer and it will take about 12 minutes to install. The details can be found here{:target=”_blank”}
-
You have a Twilio account. It only takes a few minutes to create an account. You can create an account by going here
Setting up Twilio Elastic SIP Trunking
- Login to Twilio
-
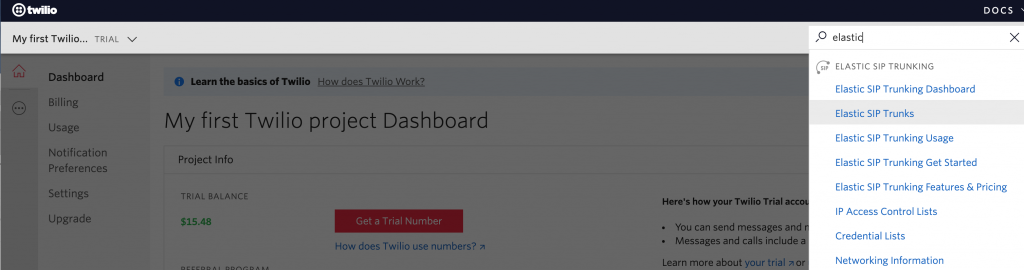
Enter Elastic SIP Trunks in the top right search bar and click enter. Notice that Twilio gives you a double digit Trial Balance. This is better then most SIP providers that I worked with in the past.
-
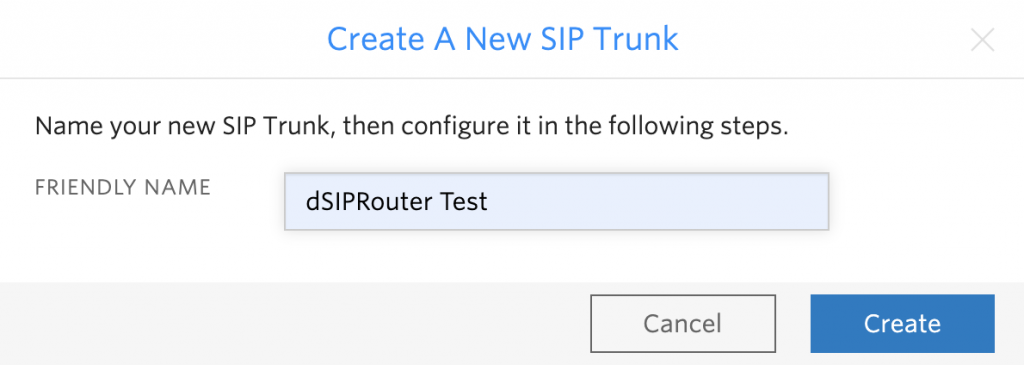
Click the + sign to create a new SIP Trunk. Enter a name for your SIP Trunk and click “Create”
-
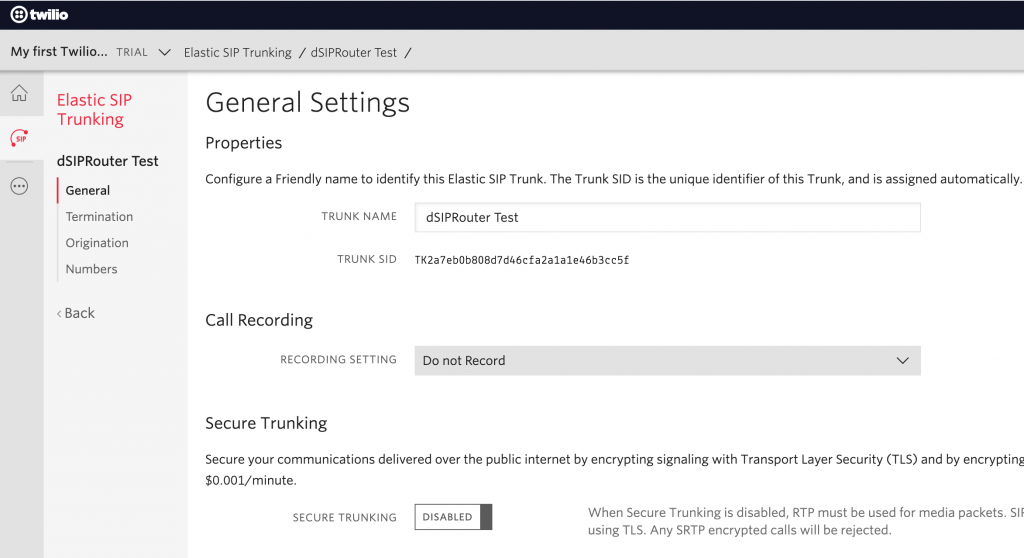
You will see a screen that looks like this
-
Since we are focused on sending calls outbound we are going to click on the “Termination” menu option. We are going to use IP Authentication. So, we just need to define a unique SIP URI for signaling to Twilio. Twilio doesn’t accept SIP requests that come from an IP address. Also, we need to define an Access Control List that contains the IP address of your dSIPRouter instance. If you have multiple instances of dSIPRouter then define all of the IP addresses.
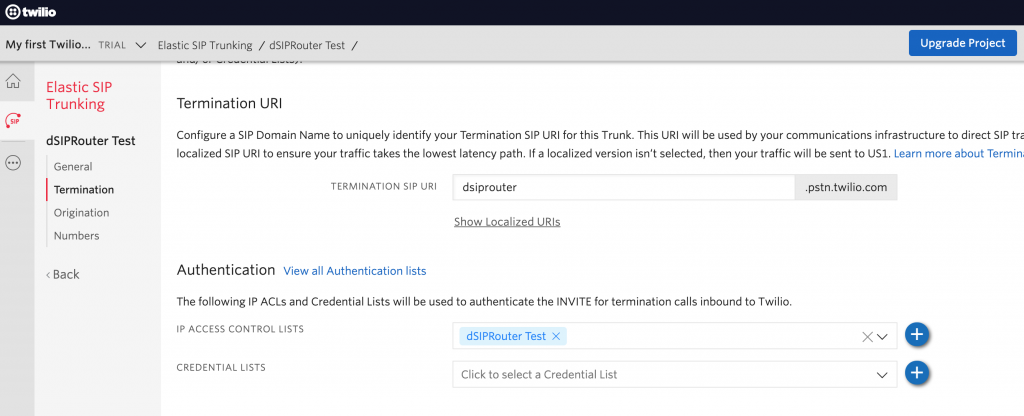
This is all we need to do on the Twilio side. In the next section we will focus on configuring dSIPRouter
Setting up dSIPRouter to work with Twilio Elastic SIP Trunking
Setting up the Carrier Group
- Login to dSIPRouter
- Click Carrier Groups
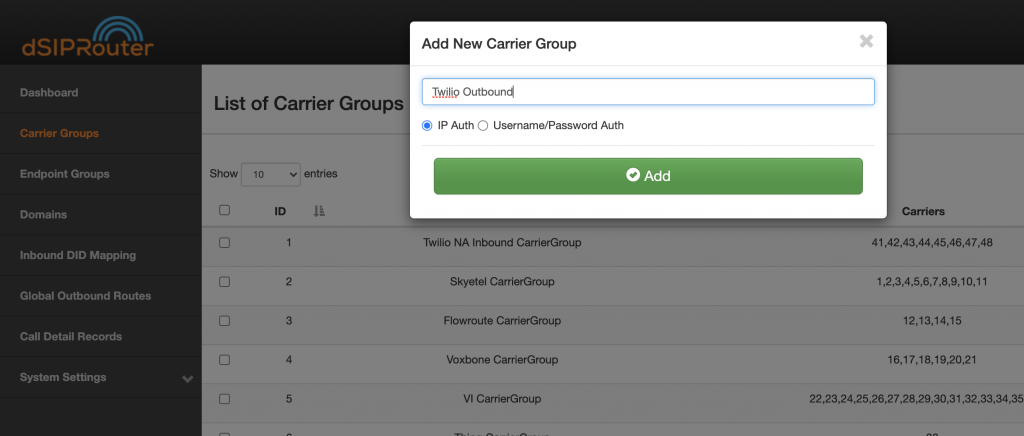
- Click Add
- Provide a name for the Carrier Group and click Add
-
Click on the Carrier Group that you just added
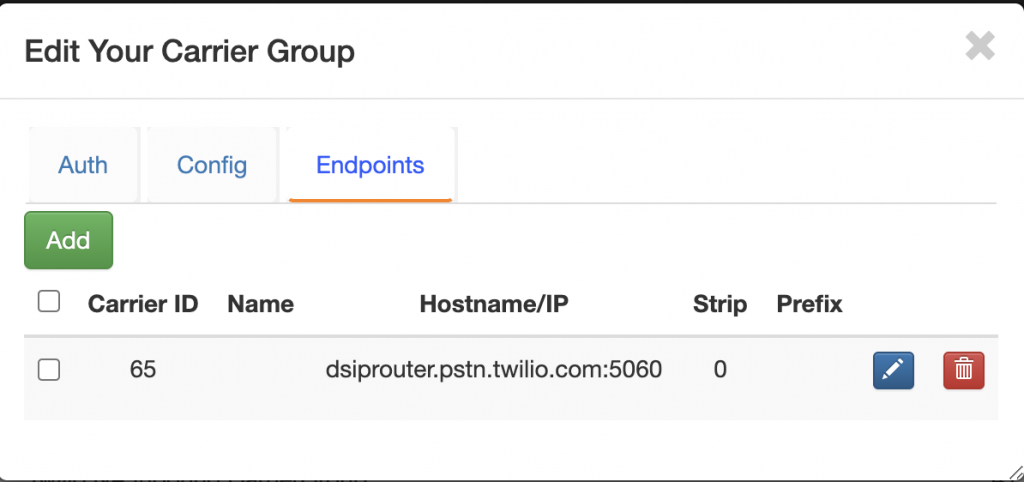
- Click on Endpoint and click Add.
-
Enter the Twilio SIP URI that you defined in the Twilio portal
-
Click “Reload Kamailio”
Make the Twilio Carrier Group the Default Outbound Carrier
- Click on Global Outbound Routes
-
Click on the Default Outbound Route and select Twilio Outbound

Making an Outbound Call
In this section we are going to use IP authentication to send a call using a softphone.
- Click Endpoint Groups
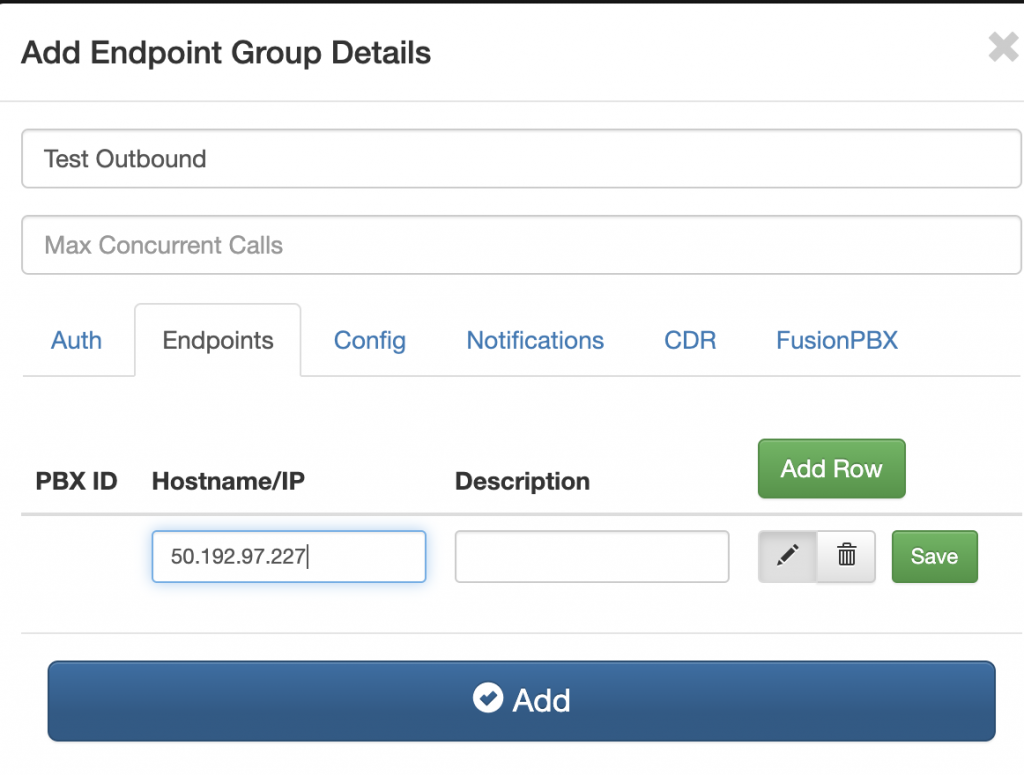
- Click Add enter “Test Endpoint” as the Friendly Name
- Click the Endpoint Tab and enter the IP address you will send calls from
- Click Add
-
Click “Reload Kamailio”
- Start your softphone and configure it to send a call to dSIPRouter